

CMus is so far my favourite audio player. It is gapless, powerful, scriptable and console-based.
The latter is both an advantage and an inconvenient. Indeed, when procrastinating by browsing the web, I often find myself willing to watch flash-based videos. So, I need to find what console runs CMus to stop the music. I usually launch it in the first console of yakuake, a quake-like terminal for KDE, but stopping the music requires multiples actions.
I could have used KDE’s global keyboard accelerators to send a pause/unpause request to CMus, but I’m far more geeky than that. Instead, I decided to build a remote control to physically add a physical giant button.
While this idea was appealing for the sake of it, I wasn’t fully satisfied. So long for just sending commands, what about receiving data from the computer too? What about displaying visual information to a screen too?
As I know you like videos, here is the video of the current state of the project:
Buying the hardware
I already had a 20×4 LCD screen so I decided to start building on top of that.
I needed more hardware to build the complete remote control. As a student, I don’t have a lot of money but thanks to Sparkfun’s free day, I earned enough money by answering simple electronic questions, this idea finally was able to come to life.
First step was to find a microcontroler. I choose to use an Arduino UNO because I wanted to add support for it in our arduino IDE called Arduide and because it was sufficient to drive the screen and some buttons (so I thought :D).
Then, we need a casing that can house both my screen and the µc (the arduino UNO), none would be perfect as my screen wouldn’t fit on it. That’s why I decided to only fit the arduino and the electronics inside the case while gluing the screen on top of the case.
Second step was to decide which input sensors should I use. I wanted this project to be an experimental platform, highly reconfigurable, so the more input methods, the better.
I first settled with two 12mm Momentary Push Button Switch. This is classic, easy to use.
Then, I thought about using a small thumb joystick as an analogous input device.
Finally, I had been looking to the blackberry’s trackball with envy for a while. It is both a trackball, a momentary switch and a multicolor led. No wonder why I loved it :)
After counting all the inputs/outputs I needed, I realised I wouldn’t be able to squeeze all the needed IO for the screen. However, I already had a serial to parallel converter for LCD screens(fr) that saved the day!
As a whole, I would say it costed me around 80€ but with the money I “earned” on Sparkfun, it went down to around 30€.
Physical assembly
A few days after pressing the purchase button, I received everything, I started by trying different combinations of assembly.
When I finally settled what was the wanted design, I started drilling holes for the push buttons and the trackball.
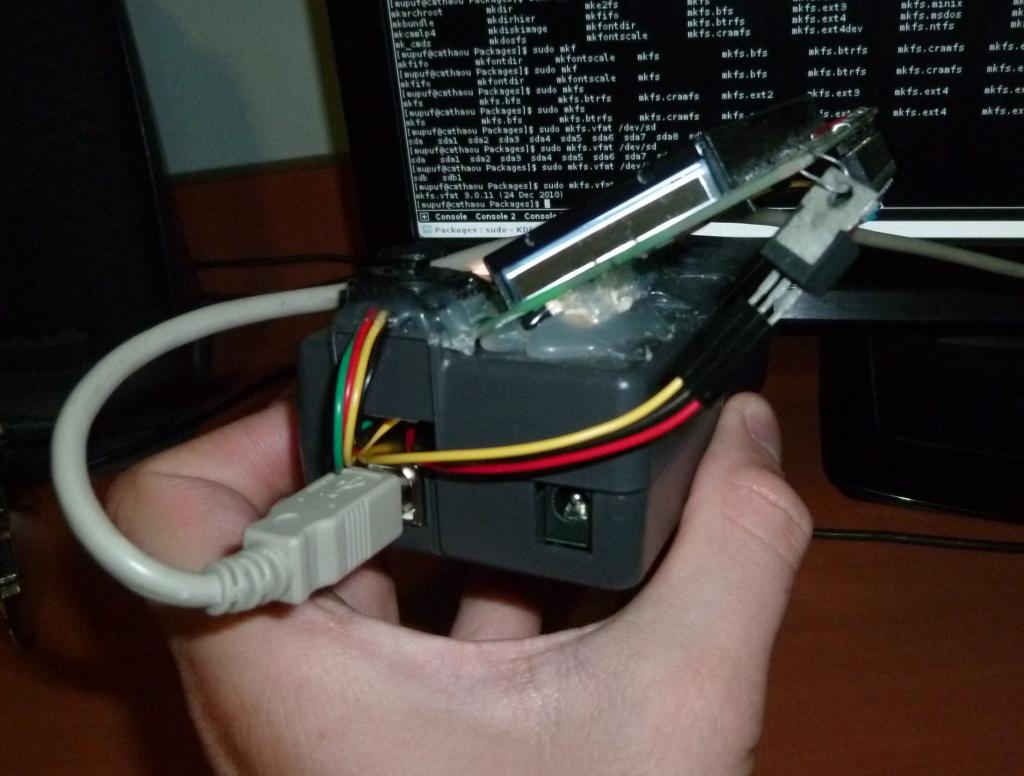
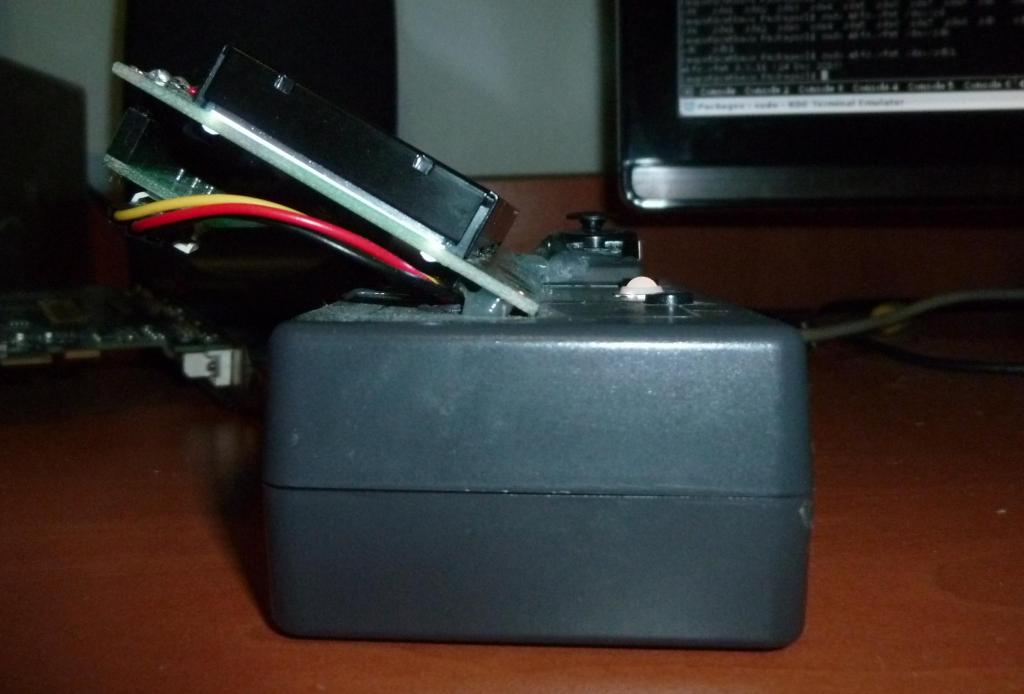
Next step was to glue the screen with the right angle. I used a wedge under the screen to hold it in place during the operation but decided to keep it despite its ugliness.
Electronics assembly
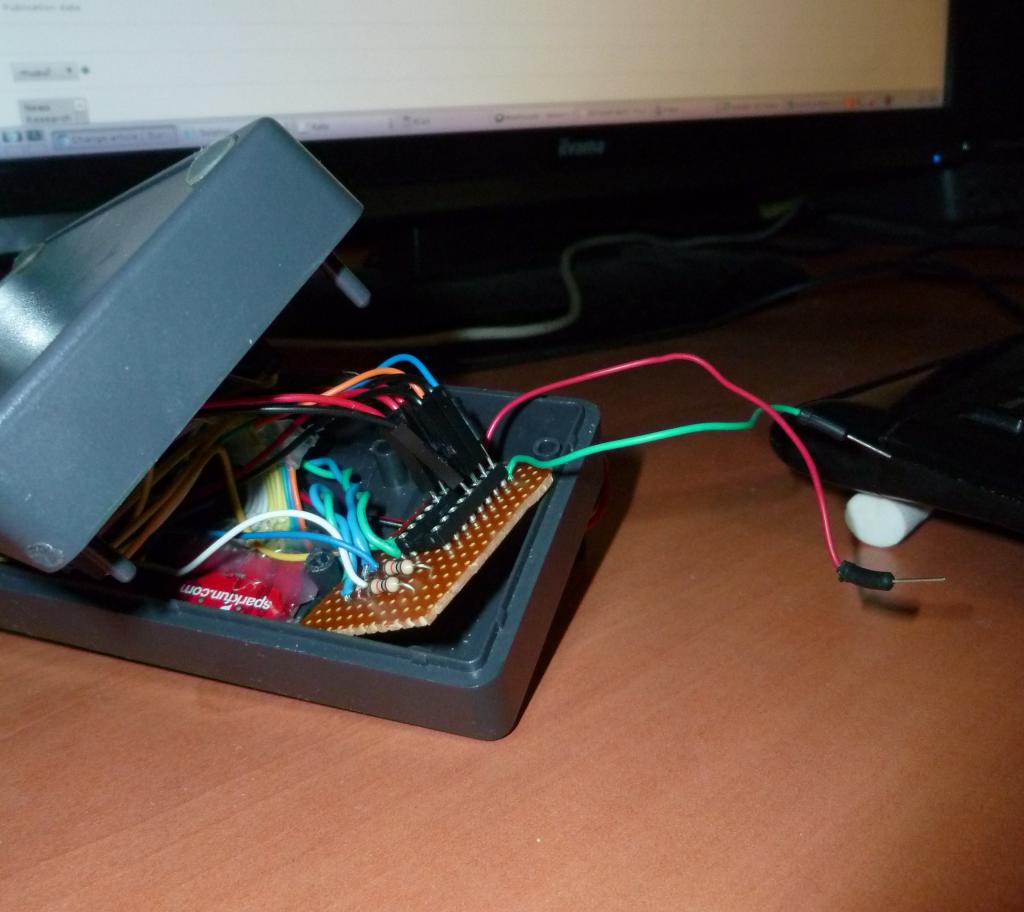
In order to connect the 2 push buttons to the arduino, I needed a small electric circuit.
As I also needed to power up all the pieces and since the arduino doesn’t have enough 5V pins, I decided to create a “power strip” using a tulip socket.
The rest is just basic soldering and plugging the right pin in the right hole and carefully note what you do :)
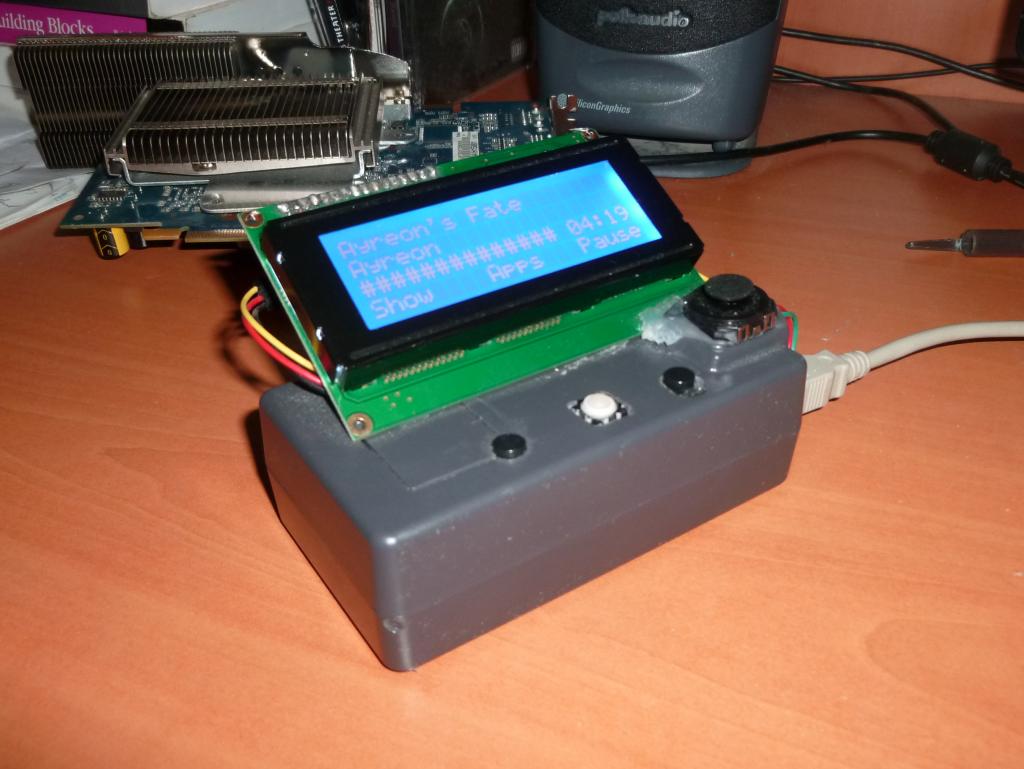
Here is the final result of the assembly (don’t pay attention to what is on the screen, it is supposed to be black at this stage):
Programming, the fun part
There are two parts, the first one is embedded in the arduino, the second is run on the computer, alongside CMus.
Programming the arduino
Well, all this was basic. Programming the arduino was the real fun :) I started by writing functions to read inputs and drive the outputs, the so-called “drivers”.
First, it was easy to read the buttons but don’t forget to debounce the input :)
I then moved to the analogous thumb joystick. As I want to use it as a binary input, I first worked out the thresholds and then simply compared the readed values from both axis and compared them to the thresholds.
The real fun started with the trackball. I started by driving the LEDs using PWM to modulate the LEDs brightness. Concerning the trackball itself, there 4 outputs, one for each direction (up, down, left, right). Each output alternates from 0 to 1 when it is moved in the right direction. My trackball is a bit broken, it works well for up and down but it doesn’t work well for going right. This is why I implemented a kind of filter. I need to improve on this.
The last thing to “drive” was the screen. I mostly implemented the docs of the serial to parallel converter for LCD screens(fr). After a few tweaks, it started working as expected :)
However, as the arduino UNO only has a single serial port that is SHARED with the USB port, I needed to use a digital output to communicate with the screen at the expense of a higher CPU usage. The fastest class I found for that is NewSoftSerial. As NewSoftSerial disables interrupts to operate, I had to lower the communication speed through USB to 4800 bps otherwise the CPU would miss some interrupts and wouldn’t read all the characters sent through the USB connection.
Since we’ve started talking about the connection with the computer, I should start talking about the communication protocol between the PC and the arduino. Each message has an header. What is sent after the header isn’t the OS’s business. It is up to the application to deal with it. This header is composed of:
byte : value
0: 0x1
1: source/destination application (panels)
2: message length
3: 0x3
4: 0x2
Concerning the OS of this Arduino, I decided to write it around an event-driven paradigm. This paradigm has been chosen because it is the one that is the most adapted to multimedia applications where latency is an enemy :)
The OS provides interfaces to draw things on the screen, program its menus and send data to the computer. It also provides events such as
Events
on init
on show
on hide
on idle
on event (TRACKBALL_MOVED, JOYSTICK_MOVED, MENU, SERIAL_PACKET)
Just as previous versions of iOS, only one application can run at a time, the application is put on hold before switching to another one. Each application, called panel, has a panel_id and a name.
A panel can specify up to 2 menus that will be activated by pressing the corresponding button. For example, the system panel specifies menu “Sleep” and “Lock”. The middle menu is always reserved to switch to the application manager.
The application manager is the only panel the OS manages. It shows the available panels and allows users to select the one they want to open.
If you want more information about the OS, I suggest you take a look at the source code. I wanted to break it into several files but our Arduide doesn’t support multiple files yet.
If something is unclear, feel free to ask me for more information. I’ll document the part you don’t understand a little further (if I haven’t radically changed the design for the sake of it ;)).
Programming the host
Now that the OS on the arduino has been programmed and a communication protocol has been established, a daemon) needs to be written to translate this protocol into CMus commands. This daemon will also be in charge of sending information such as the current title, artist, album or position to the arduino.
I choose to write this daemon in python to improve my skills in this language. I have to admit I don’t really like it even if I think it is the best interpreted language available.
As I previously said, CMus is scriptable. It provides a remote control that allows you to send commands to CMus. This is what has been used by the daemon to gather information on the current title and to send play/pause/volume-up/volume-down commands.
The hackish source code is available if you want to understand what really happens in this daemon.
Conclusion
I’ll be pragmatic. This was a fun project that took me around 50h to complete, 5 hours of blog-writing left alone.
The real question is, is it useful? YES!! IT IS! The need was here but I couldn’t have imagined how important this remote control would be for me. I use it daily and the only thing I regret is not to have added a transistor to shut down the screen when I go to bed. Instead, I have to disconnect the USB cable manually every night.